In This Article
ADVERTISEMENTS

An amazing craft project to hone your child’s motor skills!
Thank you for reading this post, don't forget to subscribe!
Age Range – 4 – 6 years
Primary Skills – Fine motor skills, hand-eye coordination
Materials:
- Newspaper sheets
- Paints
- Pencil
- Ruler
- Scissors
- Glue/tape
- Marker
Instructions:
This activity requires quite a bit of paper, so it’s best to use newspaper sheets.
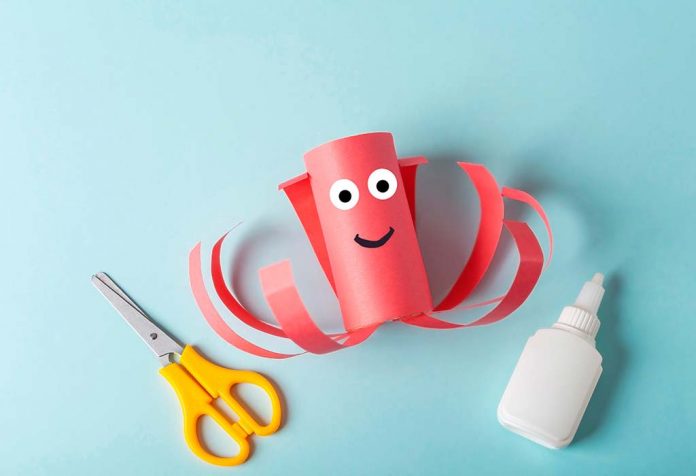
- First, let’s draw and cut out all the things needed for the octopus. Refer to the image below to draw the head of the octopus. It can be as large or small as you like! For the eyes, draw the circles as shown below. Help your child to cut them all out carefully.
- Your child can paint the head of the octopus in any colour he likes. For the eyes, you can divide them into two parts, and your child can paint them in white and black (see image). Let these dry thoroughly.
- Next, let’s get started on the paper chain arms. An octopus has 8 arms, so you will need 8 sets of 7 to 8 paper strips each. With a pencil and a ruler, draw 1 inch-wide and 3.5 to 4 inch-long rectangular strips of paper.
- As this will take long, divide the load between you and your child (4 sets each). If you have more than one child, even better! Teach your child how to fold the newspaper into multiple layers and how to cut through them to get multiple strips at once. Remember to give your child kid-friendly safety scissors to use, and definitely take some snack breaks in between!
- Once the strips are ready, it’s time to paint them. Your child can choose the same colour as that of the octopus body, but if you want it colourful and diverse, you can use different colours, too! The idea is to have fun!
- Share the load with your child: put all the strips together in the middle of your workspace, and keep taking one, painting it, and keeping it aside to dry.
- As the strips are in various stages of drying, how about another break? Of course, this painting step can be skipped if you decide to use coloured paper for the craft.
- Once you’re back, divide the strips into sets of 7 or 8. It’s time to start making the chains! Teach your child how to make interlocking loops of the paper strips using glue or tape.
- Once all the 7 – 8 chain arms have been made, let’s paste them one by one on the octopus body. Refer to the image for the position of the arms. Paste the first loop of each arm vertically on the body.
- If you want to put the octopus up on the wall, spread out the arms to give it a nice effect!
Wow, wasn’t that super fun? Your child must be thrilled to have created a craft like that!
ADVERTISEMENTS


